
Sketchbook Prompt # 15 - Preparing a drawing for your embroidery // drawing in stitches
/
Drawing in Stitches:
There are a beautiful number of kits and digital patterns out there that you can begin with when it comes to embroidery. I am smitten with a great deal of them, I will provide links to some of my favorites at the end of the article. You might also want to see what it would look like to create your own drawing with embroidery.
For me, a lot of what you see in my sketchbook and other work is inspired by turn of the century drawings for embroidery. I have always been drawn to the line work you often see in samplers. In my own work with embroidery I want to make a contemporary version of the sampler, not to prove my worth, but document my time. Embroidery is not a fast art form, if you like the idea of embroidery but don’t have the patience I recommend making line drawings that use similar patterns and textures and play with those in color. You will probably be delighted with those as well.
Where did I start:
I look at a lot of things, not just online but in loads of books. I get an idea of what I am drawn to, and then try to reduce that image into lines and shapes. You can start in your sketchbook, making drawings that are line based. If you are new to embroidery that might be the best way to not get too overwhelmed. Think about how you might use the back stitch or satin stitch to fill those lines.
Some steps to keep in mind:
trace the circle/square/oval of the hoop onto paper
draw in the space, thinking about how each shapes relates to the other, you want the elements to feel like they are in conversation with each other.
fill in some elements with your pencil, or make marks that look like stitches. This can help you visualize the embroidery coming to life.
think about what color (s) might be fun to use, you could get colored pencils and play with that before buying your embroidery floss.
Once you get an idea of what you want you can either try to free hand it onto your cloth, I recommend a linen/cotton blend or Kona cotton, with a water soluble marker. It will be light blue so it will easily be seen but will disappear when you blot it with wet water. Or you can use a light box or window and tape the paper to the window and tape you cloth on top and outline the drawing onto your cloth with the water soluble marker.


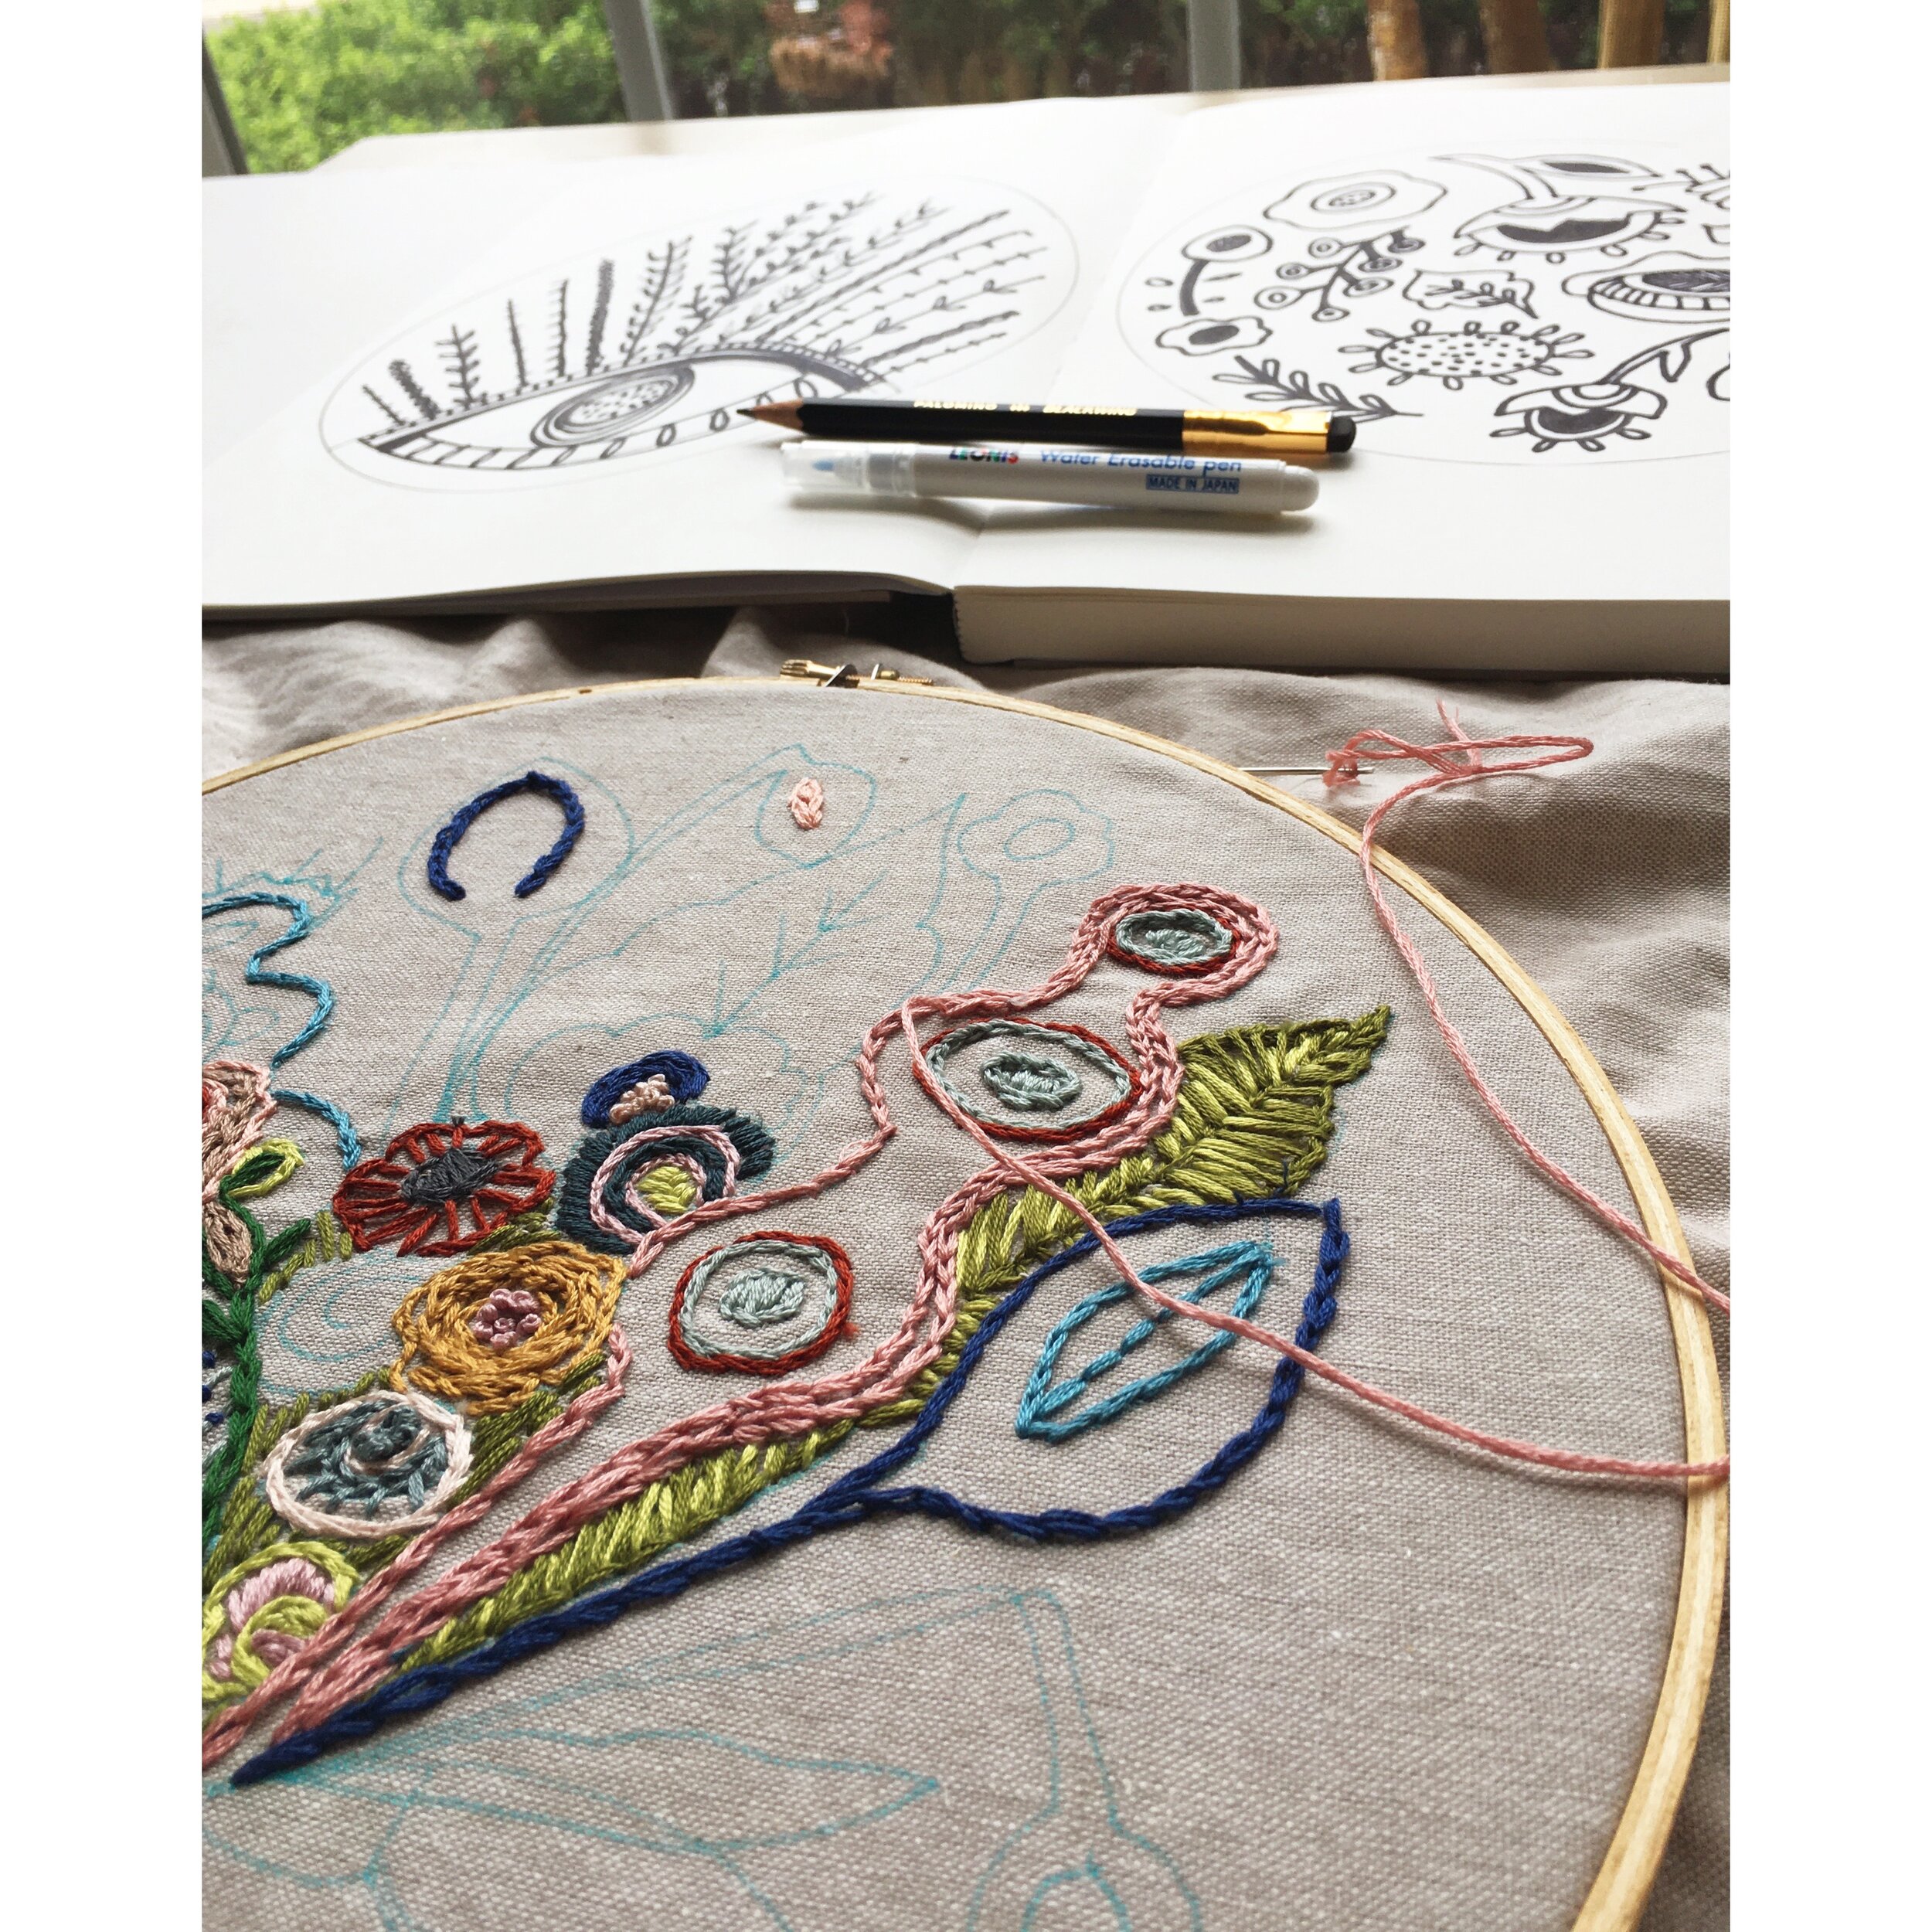
Free hand drawing:
I use the time I have for embroidery in a couple different ways; sometimes I just want to make marks, and keep making marks, and altering the stitches, and making more marks, with no plan at all. That can feel liberating and sometimes wonderful. This can also be where I start, but there are times where I get lost in a piece and have to add blue pen lines to show me where my lines need to go.
In the piece here, I use a simple drawing, without to much emphasis on texture or pattern, just to give me direction. I have some layering in this one, and that happens to be where I get lost most. So I appreciate a rough under drawing. I do not plan my colors often, I sometimes know that I will emphasize a color, but I tend to like a big tin of thread to choose whatever color seems needed.

There are never enough stacks of books, piles of cloth, or tins of thread. Here are some books I have used in my practice. I also recommend this book, Embroidered Botanicals, for some inspiration for your drawings.
For kits, supplies, and inspiration here are some great artists.
Cozy Blue Handmade - I met Liz years back at several Indie craft fairs Her work has always been driven and unique.
Dropcloth Samplers - Rebecca and I went to Grad school together. Her enthusiasm and wisdom are delightful. She is very talented and a well of info.